
Free cowl knitting pattern: Let it Curl Cowl
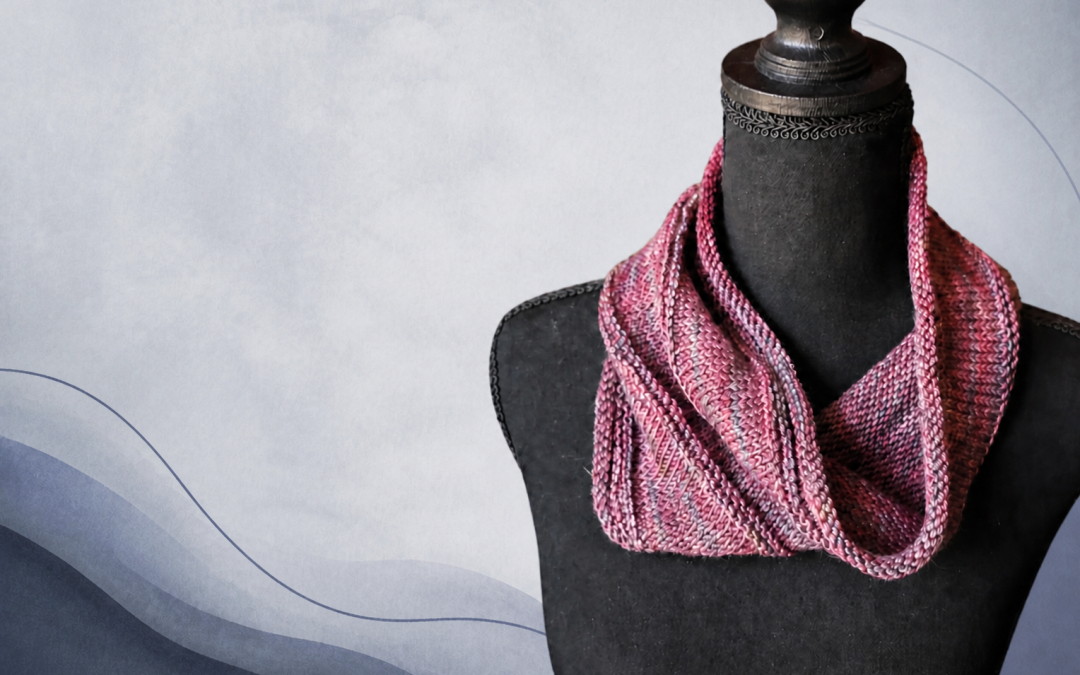
A few weeks ago I wrote about how a cowl is an easy beginner project for new knitters. I covered a few of the basic things you need to know about cowl knitting. If you missed it, you can read it here.
I know that many beginner knitters can feel intimidated about knitting in the round and if you are one of them, don’t worry, I’m here to guide you one step at a time. I think that knitting in the round is actually easier than knitting flat. No turning your work and no purl rows if you work stockinette stitch. You just keep knitting.
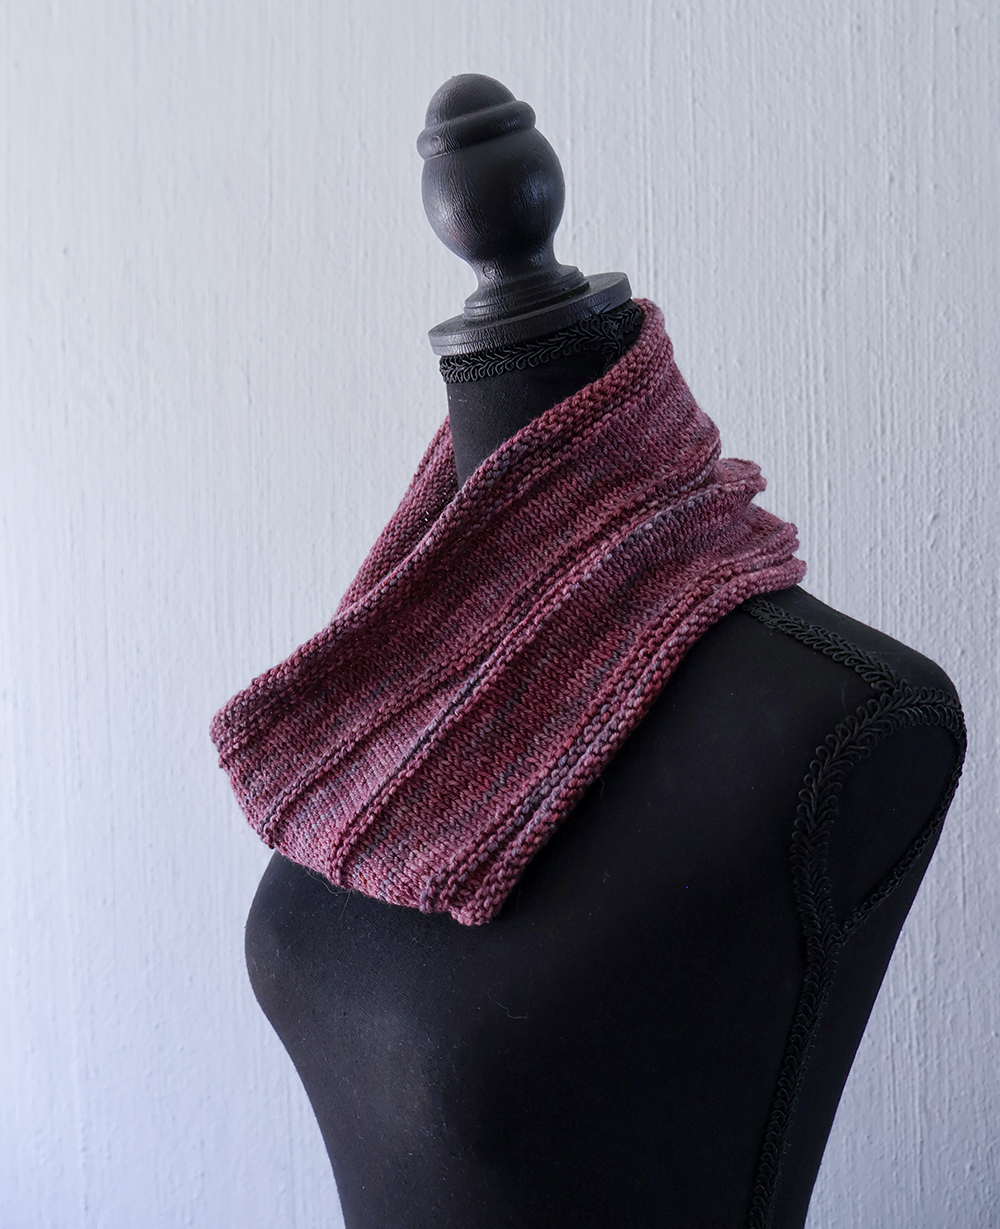
I designed the Let it Curl Cowl specifically with new knitters in mind. It uses just one skein of DK yarn, simple knit and occasional purl rounds, and no shaping at all. There is no ribbing, so no knit 1, purl 1 and no getting confused if your yarn needs to be at the back or front of the work. This pattern has an easy rhythm and gives a beautiful, wearable result.
By the end of this post, you will know:
- what you need to knit the Let It Curl Cowl
- how to join in the round without twisting your stitches
- how to work each section of the pattern step by step
Why the Let It Curl Cowl is such a good beginner knitting pattern
When you are new to knitting, the best project is not always the fanciest one. It is the one that helps you build trust in your own hands.
The Let It Curl Cowl does exactly that.
It is worked in the round, so once you join your stitches, you just keep going in a loop. There is no shaping and no seaming at the end. The pattern alternates simple knit rounds with the occasional purl round, which means you get enough variation to stay interested without feeling overwhelmed.
It is also quick enough to feel encouraging. That matters. When your project grows fast enough to show visible progress, it is easier to stay motivated and easier to feel like a real knitter while you learn.
What you need before you cast on
Yarn: 1 x 100g skein of DK yarn. The skein should be about 220m or more in length.
Needles: 4.5mm (US7) 60cm (23 in) circular needles
Notions: stitch marker, yarn needle
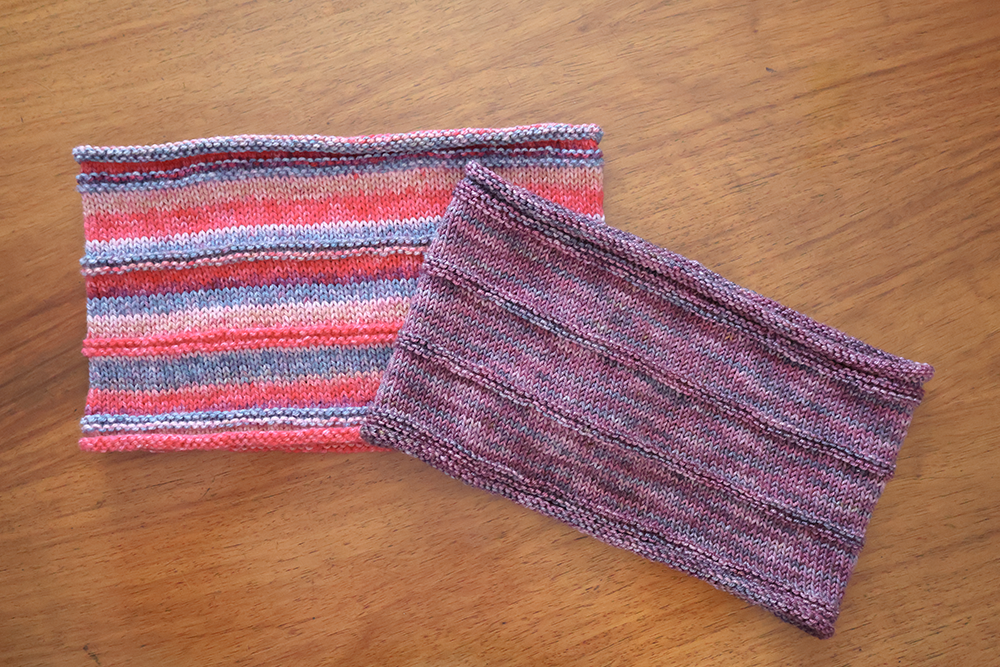
Don’t worry too much about the type of yarn to use. I knitted two cowls, one using in a 100% Merino wool yarn from Knotty Habit, and the second using Elle Pullskein acrylic yarn.
Let’s talk about gauge
The gauge for this project is 30 rows and 20 stitches in a 10x10cm stockinette stitch swatch.
If you meet this gauge, your finished cowl should be 18cm wide with a 65cm circumference.
Don’t worry too much about gauge. If you are a little off, it may make your cowl a little bigger or smaller, but it will not affect the overall look of the cowl. If you gauge uses more stitches or rows in the 10x10cm swatch, it can affect the amount of yarn you will need to finish the project, so be mindful of that.
A note about the curl
This cowl is called Let it Curl for a reason. It has no ribbing at the top or bottom edges to hold the fabric flat.
Stockinette stitch naturally curls, and in this design the curl becomes part of the finished look. So if your edges curl up, nothing has gone wrong. That soft rolled edge is exactly what this cowl is meant to do.
Abbreviations
Here are the abbreviations used in the pattern:
rnd(s) = round(s)
st(s) = stitch(es)
The Let It Curl Cowl pattern step by step
Now it is time to knit our cowl.
Step 1: Cast on
You can use any cast on method you prefer. I used a long tail cast on as it creates a neat and stretchy edge.
Using your 4.5mm (US 7) circular needles, cast on 130 sts plus one extra stitch. We will use this stitch to join in the round during the next step.
If you are using a different method to join in the round than described below, cast on only 130 stitches.
Step 2: Join in the round carefully
Spread your stitches evenly across the circular needle and lay your work down on a flat surface. Check that all the stitches are facing to the inside of the circle and that there are no twists in the stitches.
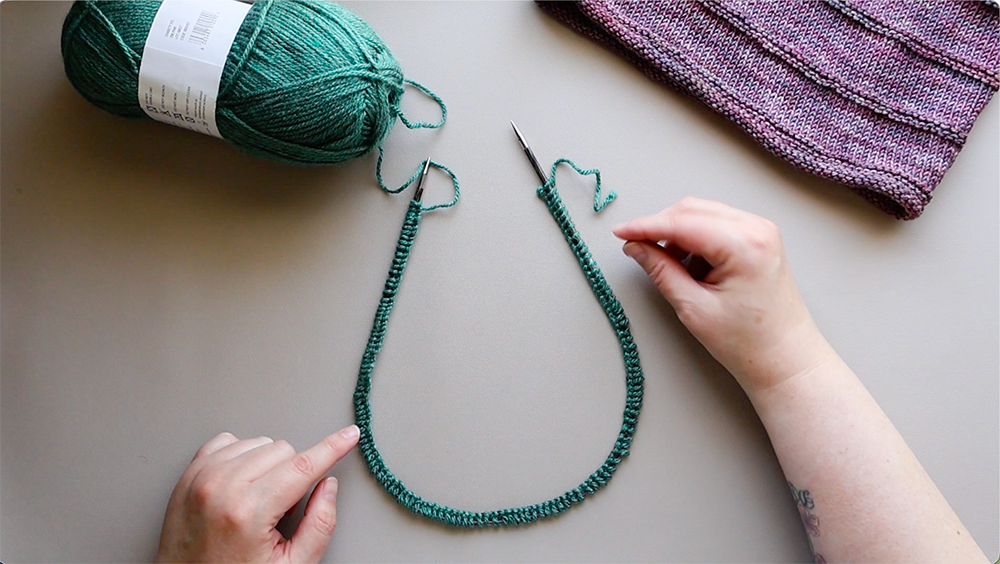
Once you are sure the stitches are sitting neatly all the way around the needles:
- Pick up your work, careful not to twist any stitches. The needle where your working yarn is coming from should be in your left hand. Slip a stitch from the right needle to the left needle. You will be slipping the first stitch you cast on to the left needle.
- Slip the second stitch on the left needle over the first stitch and off the needle and pull tight. The stitch you drop off the needles has the working yarn attached to it, so you will be able to tighten it after you dropped it off the needle.
- You will now have 130 stitches on your needle.
- Place your marker on your right needle and start knitting your first round.
The marker will help you know where each round starts and ends. You slip the marker from the left to right needle each time you reach it.
Step 3: Knit the first 6 rounds
Rnd 1 – 6: Knit.
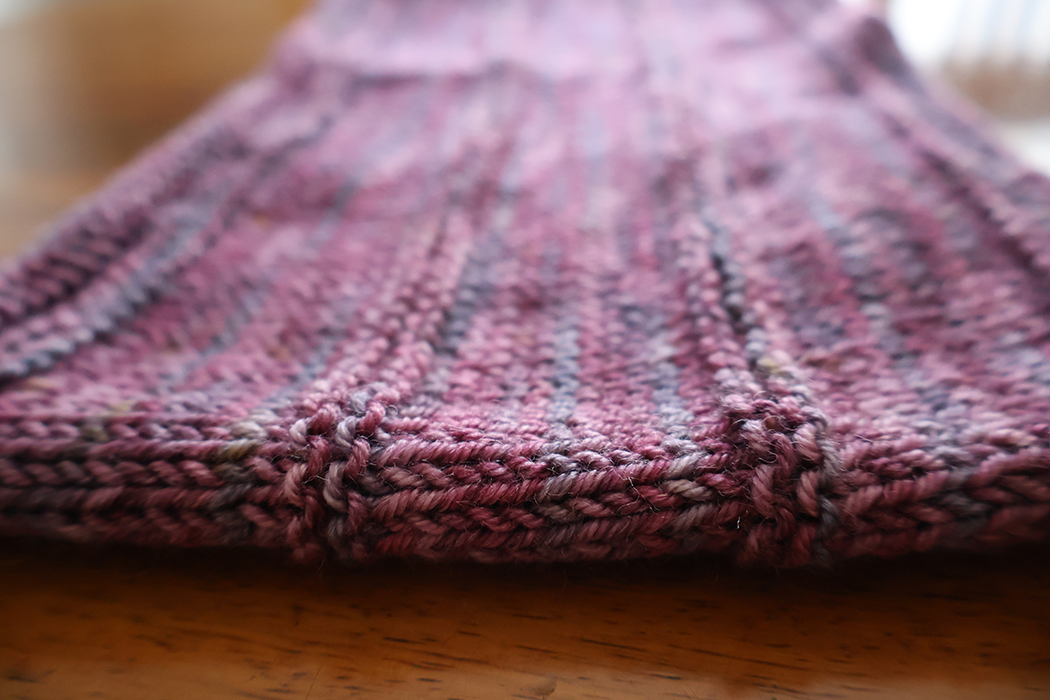
For the first 6 rounds, knit every stitch. This creates a smooth section of stocking stitch and will create the signature curl.
Step 4: Work the purl ridges
Now you will begin adding the purl ridges that give the cowl its subtle texture.
Work the next few rounds as follows:
Rnd 7: Purl.
Rnd 8: Knit.
Rnd 9: Purl.
Step 5: Work a stockinette section
Rnd 10 – 21: Knit the next 12 rounds.
Step 6: Repeat Steps 4 and 5 two more times
Repeat Rnds 7 – 21 two more times.
Step 6: Work the final purl ridges
Next you will repeat Rounds 7 – 9 one more time.
Next rnd: Purl.
Next rnd: Knit.
Next rnd: Purl.
Step 7: Knit the last rounds
Next 6 rnds: Knit.
These final knit rounds give the cowl its last chance to curl. Because the knitting is still on the needles, the curl will not yet be obvious, but don’t worry, it will curl as soon as you cast off.
Step 8: Cast off all sts
Cast off all sts in a way that feels neat and relaxed. Try not to cast off too tightly, or the top edge may feel less stretchy than the rest of the cowl.
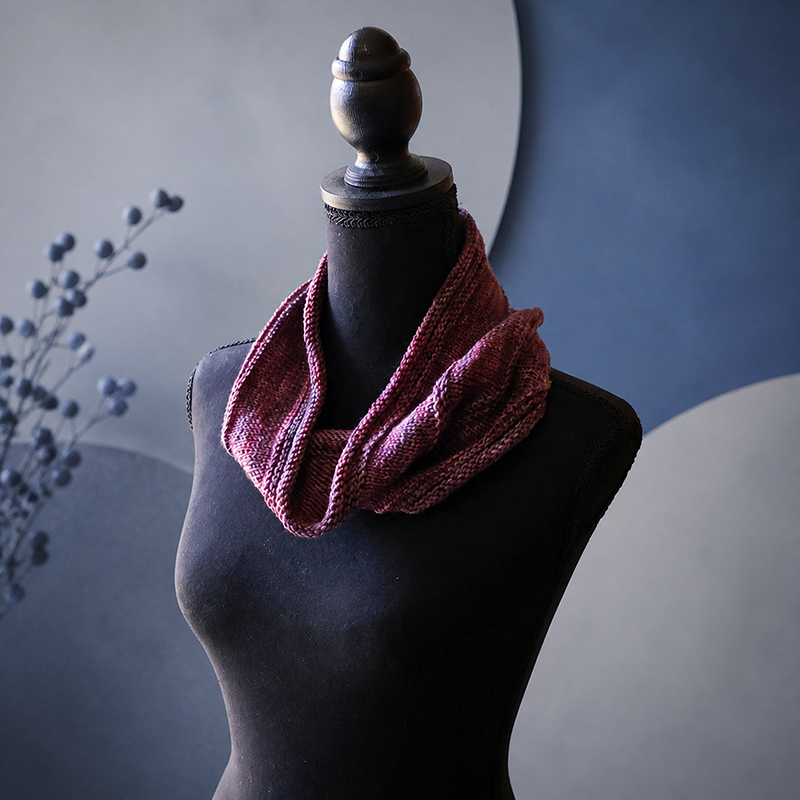
Once the stitches are off the needle, try it on. Come on, I know you want to. Yes, the ends still needs to be woven in, but a quick try on to celebrate your finished cowl is mandatory.
You look great!
Now you can weave in your ends and wear your beautiful cowl whenever you want.
What to do next
I hope you enjoyed knitting the Let It Curl Cowl as much as I did. Share your finished cowl with me on social media using #LetItCurlCowl.
If you want more tutorials, patterns, and thoughtful encouragement in your inbox, join my email list here.
See you for the next design! And remember to Let it Curl.